Look what I made for $2.00 each!

These easy to make bags are made out of felt sheets and can be tailored for all sorts of uses. The ones above are library bags which I made for Christmas presents. I put a book in each one to complete the gift. I've also made these for a Halloween candy bag...

If you were to make plain solid colored bag without a decorated front it would cost only about a dollar!
Here is what you will need...

- 5 sheets of 9x13 felt (for the bag)
- 1 sheet of a different colored felt for decorating the bag
- Scissors (big and small)
- Tacky Glue
- Cardboard
- Pins
- Thread and a sewing machine (not pictured)
Step 1: Decorate the front of your bag. I just printed out letters and pinned them onto the dark blue felt and cut them out. The little scissors were helpful for the centers of the letters. Glue them on with tacky glue and let dry. You can also buy precut felt letters that have a sticky back.

Step 2: Get ready to assemble the top portion of the bag. For the back use a plain sheet of felt, for the sides cut one sheet directly down the middle for two even sides.


As an option you can sew a little piece of felt into the inside back of the bag for a library card holder. This piece comes from a scrap in a few steps later.

Step 3: Sew the sides, back and front of the bag together...

then complete the rectangle.

When sewing make sure to sew the pieces together with the same length of seam. I just followed along the presser foot to ensure this.

Step 4: Get ready to assemble the bottom of your bag. The bottom of the bag should be the same width as the sides of the bag. I just used the sides as my guide for where to cut the sheet. Then I cut the extra piece in half for the card holder in the back of the bag.


Step 5: Cut out a piece of the cardboard that is slightly smaller than the bottom of the bag,...
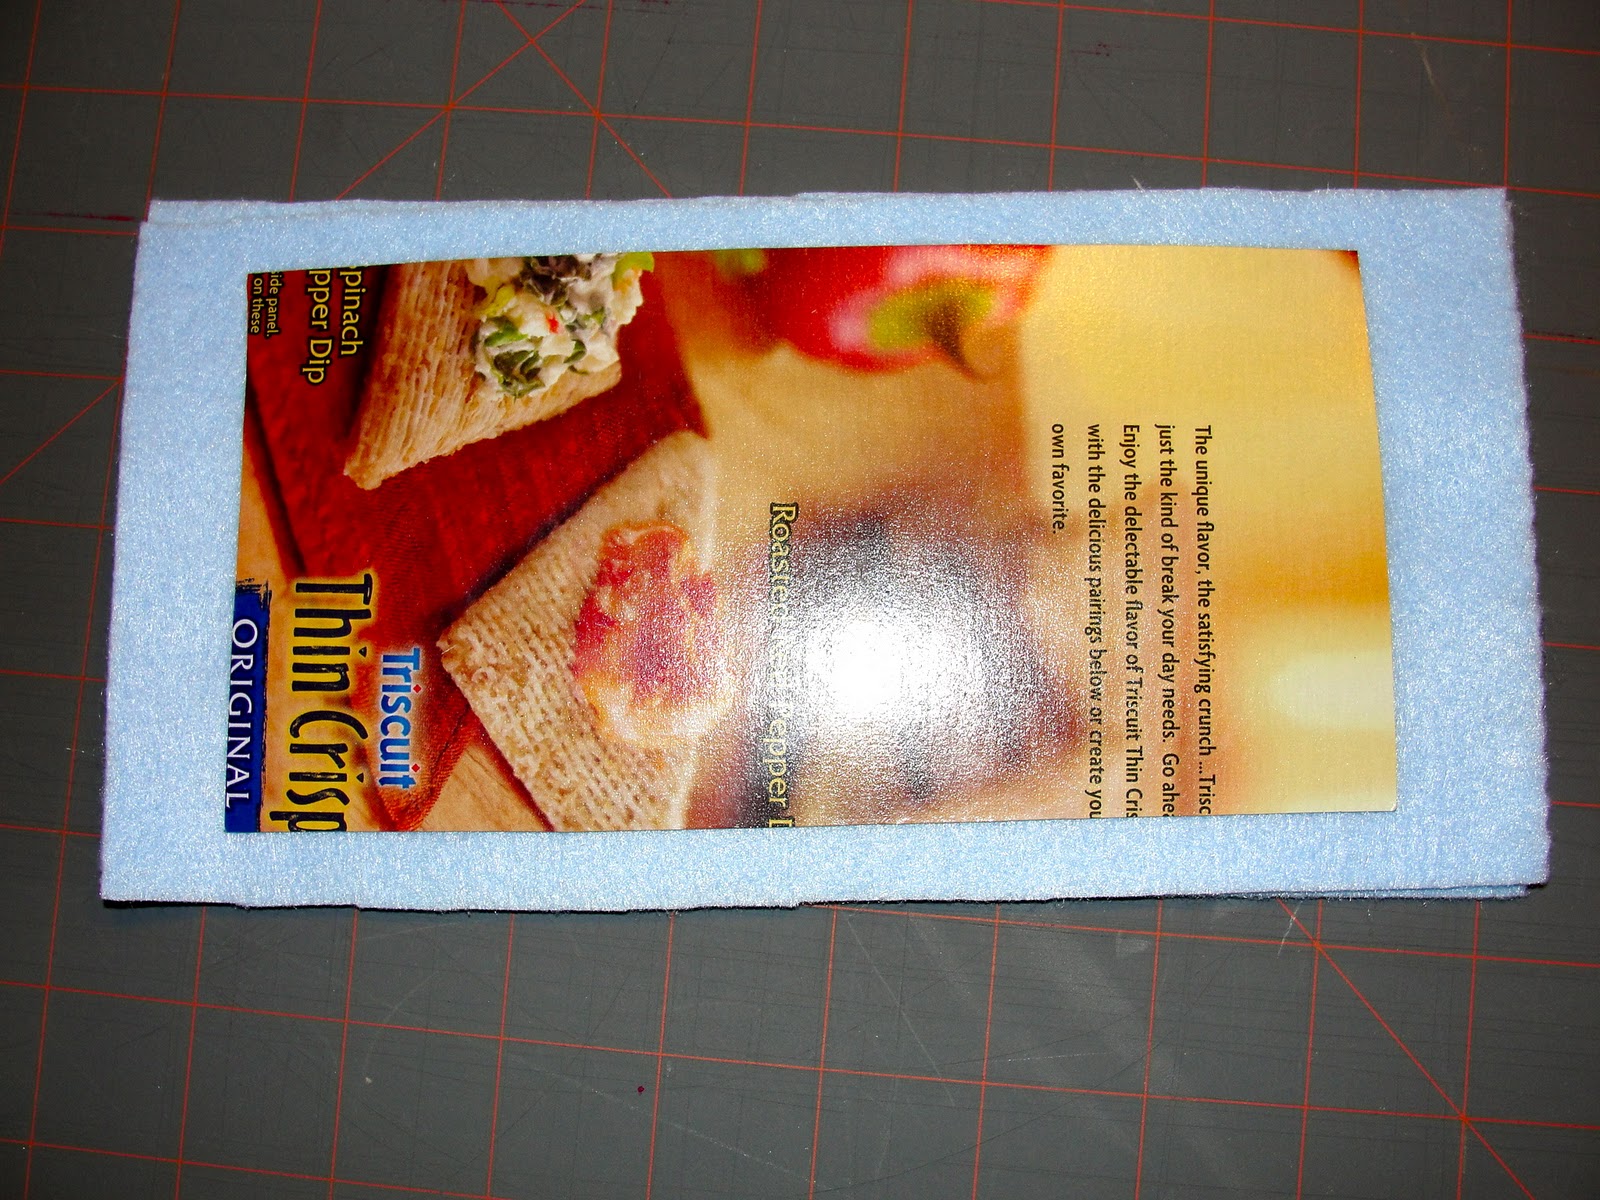
sandwich it between the pieces of felt and pin it in.

Step 6: Sew the cardboard between the pieces of flet and cut the corners to reduce bulk fabric.

Step 7: Pin the bottom of the bag into the assembled top portion of the bag and sew it in place.

Step 8: Get ready to assemble the handles of the bag. Cut a piece of felt in half, the cut the half piece in half and then cut the quarter pieces in half to create 4 strips.

Step 9: Sew two of the strips together for added reinforcement of the handles. Repeat for the other two strips so you have two handles.


Step 10: Pin and sew the handles into the back and front of the bag.

I did two levels of stitching and back stitched over it a few times for reinforcement.

And there you have it!